Preferences
Select![]() Main Menu > Preferences on the main toolbar to open the Preferences dialog:
Main Menu > Preferences on the main toolbar to open the Preferences dialog:
System
Select the System tab to change the default behaviour of Designer:
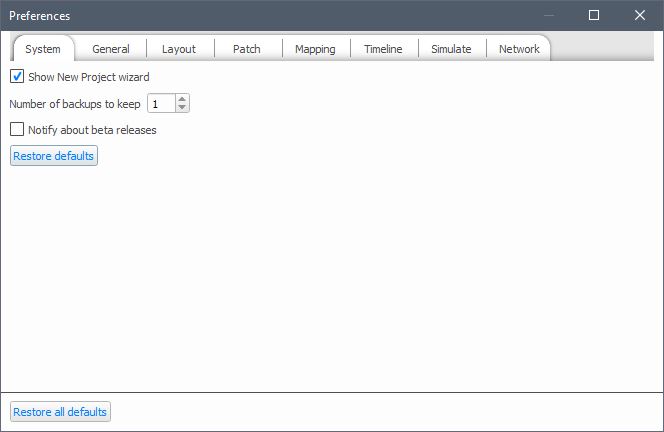
Show New Project wizard
Choose whether to display the New Project Wizard when a new project is created.
Number of backups to keep
Designer can keep a number old versions of the project file when you save and it is here that you set the number of old files to keep. Before saving your project (Save Project or Ctrl+S), Designer will rename the project file on disk by adding the current time and date to the file name, such as "my_project_bak_2007-04-18_15-58-09.pd2". If you already have the specified number of backups, the oldest backup will be removed from the disk.
Use Save Project As to produce manual backups of the project at each important programming milestone.
Notify about beta releases
Choose whether to be notified when Pharos release a Beta version.
NOTE: You will always be notified when a stable version is released.
General
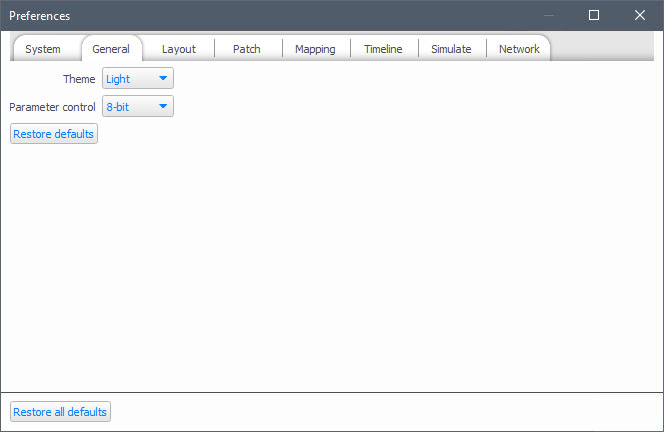
Theme (Dark Mode)
Dark mode is an alternative look to the Pharos Designer application with a darker background; ideal for working in low-light environments. It can be enabled by changing the Theme dropdown to “Dark”.
Parameter Control
Which model do you want to use (8 bit = 0->255, Percent = 0->100%), this is a display option only. The editors within Timeline and Scene with display levels in this format.
Group default naming
Choose the default name given to new groups. Select from Number or Fixture model.
Highlight
Choose the behaviour for highlighting fixtures. Options are Static (highlight at full intensity) or Flashing (highlight alternates between full intensity and off with a period of 1 second).
Layout
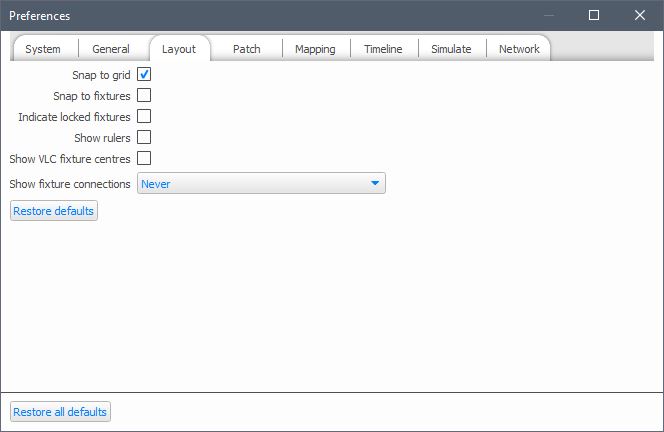
Snap to grid
Automatically snap the centre of a fixture to a grid intersection.
Snap to fixtures
When two fixtures are brought close together, the sides automatically align.
Indicate locked fixtures
Display an icon when you try and drag a locked fixture icon on the Layout
Show rulers
Display a horizontal and vertical scale along the edges of the Layout to place fixture accurately.
NOTE: The above preferences are also available in the right-click context menu within the Layout view.
Show VLC fixture centres
Display a circle to indicate where the actual VLC fixture is. This is them mapped onto the relevant pixel.
Patch
Select the Patch tab to change the default settings for patching:
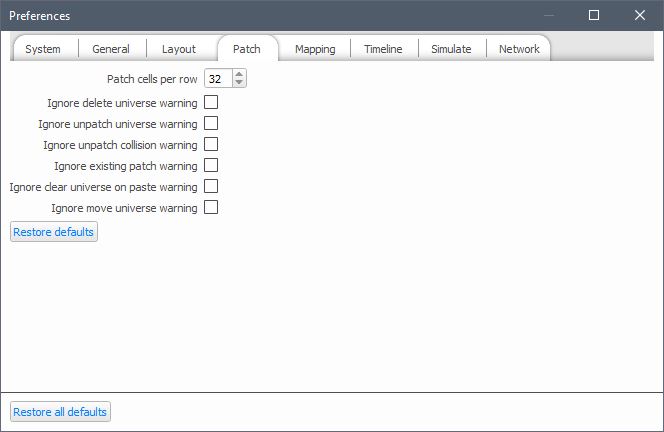
Patch Cells per row
The Patch Cells per row entry box lets you determine how many channels are displayed per row. This can be useful for organising the display for complex fixtures; set this number to be a multiple of the number of channels a fixture uses to get a neater, tabulated display.
Ignore delete universe warning
Choose whether to display a warning when a universe is deleted.
Ignore unpatch universe warning
Choose whether to display a warning when a whole universe is unpatched.
Ignore unpatch collision warning
Choose whether to have a warning displayed when patching collisions occur.
Ignore existing patch warning
Choose whether to display a warning when a fixture is patched multiple times.
Ignore clear universe on paste warning
Choose whether to display a warning when you paste a copied universe into a universe that already has fixtures patched to it.
Ignore move universe warning
Choose whether to display a warning when a KiNET port is patched from a different controller to the rest of the power supply.
Mapping
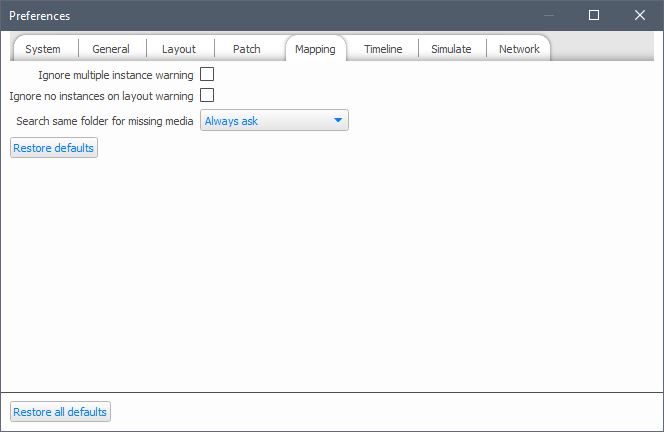
Ignore multiple instance warning
Choose whether to display a warning when a pixel matrix is created which includes multiple instances of one fixture.
Ignore no instances on layout warning
Choose whether to display a warning when attempting to create a pixel matrix with fixture that aren't on the current layout.
Ignore additional VLC+ targets warning
Choose whether to display a warning when enabling Additional Targets on a VLC+.
Search same folder for missing media
When you replace missing media, Designer can search the same folder for other missing media clips.
Timeline
Select the Timeline tab to change the default settings for timelines:
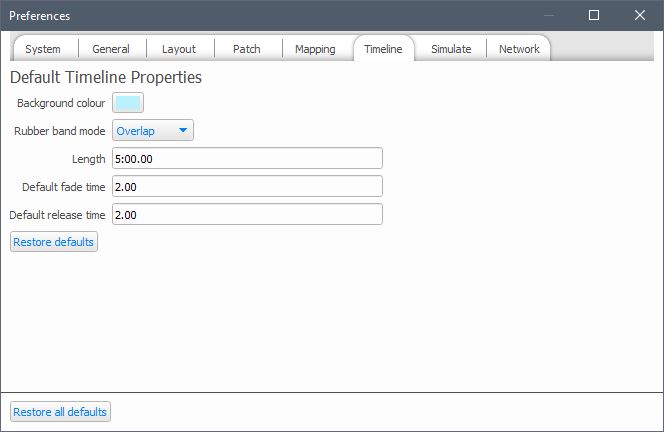
These properties will be applied to any timelines created after the properties are changed, and can be overridden on a per timeline basis.
Background Colour
The background colour of the timeline area of the Timeline window can be chosen here, press the button and select a colour. This is useful to make certain types of programming stand out better, for example a project using mainly intensity presets may be clearer with a dark grey background.
Rubber Band Mode
This preference determines how presets should behave when using a rubber band to select them (dragging a box around the presets with the mouse). Overlap will select anything the box touches, whereas Encompass will select only presets wholly enclosed by the box.
Default Timeline Properties
Specify the default length, fade and release times, see timeline properties.
Simulate
Select the Simulate tab to change the default settings for Simulate Mode:
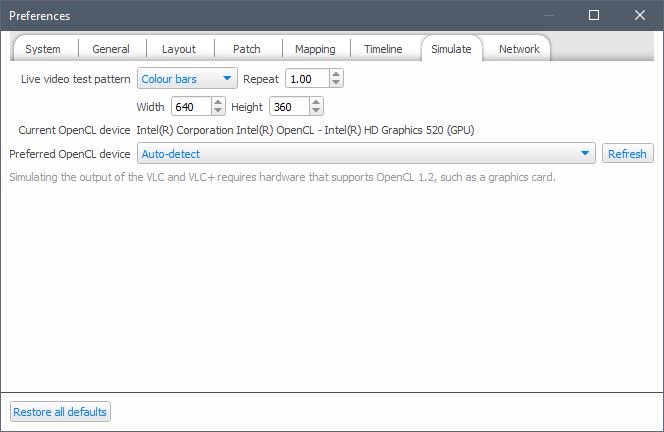
Live video test pattern
These settings allow you to specify the output when a live video input is not being received:
- Pattern - the pattern to display (Colour bars, vertical lines, horizontal lines, grid)
- Repeat - the number of times to repeat the pattern on the output (for colour bars)
- Size - the pixel size of the bar/grid
- Width - the width of the pattern
- Height - the height of the pattern
OpenCL device
Use the dropdown to choose hardware (CPU or GPU) that supports OpenCL 1.2. This is only required for VLC
NOTE: If None is selected, VLC
Network
Select the Network tab to change the default settings for networking:
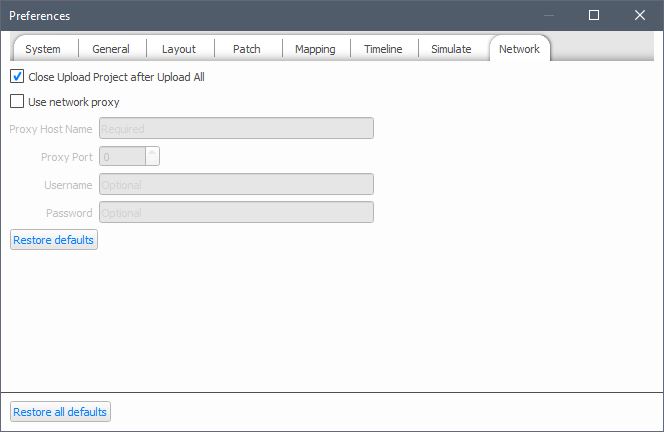
Close Upload Project after Upload All
Specify whether the Upload Project dialog box should be closed when Upload All has completed
Transfer to controllers after Upload to Remote Site
Check this checkbox to automatically transfer the uploaded project to the controller when uploading via the Remote Site Upload feature.
Network Proxy Settings
These Network Proxy settings should be configured when a Proxy server is in use between your computer and the internet and/or your Pharos Controller/s.